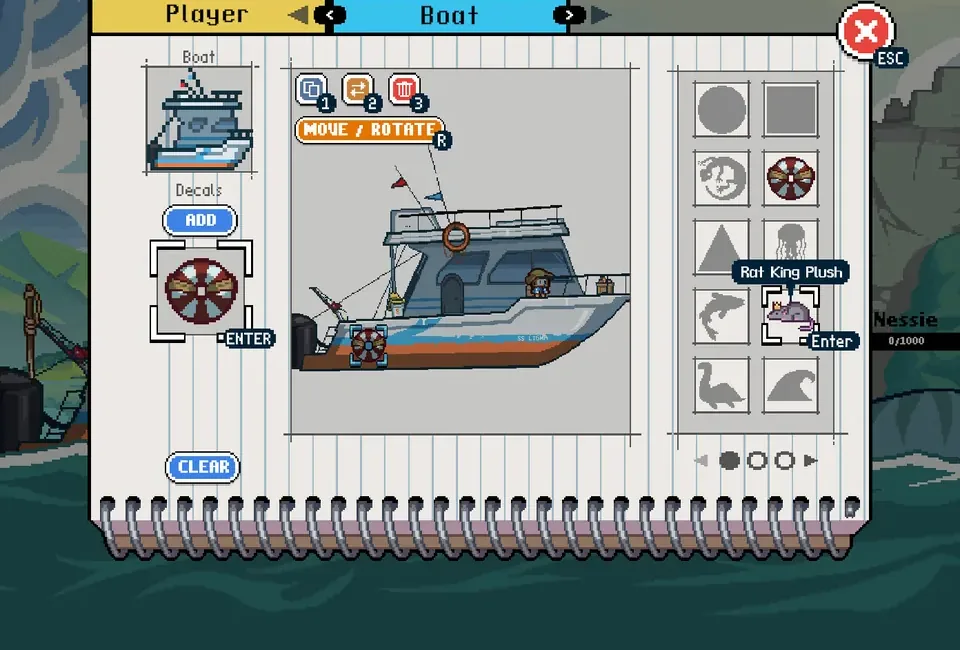
What counts as a Scale the Depths collectible?
There is not one reliable official number called the total “Scale the Depths collectibles.” For a practical completion run, track the fish almanac, the artifact checklist, boat appearances, and special regional objectives as separate lanes. That prevents a full fish table from being mistaken for a finished artifact or boat collection.
The counts below are working checklists gathered from the site's dedicated guides. Your current in-game notebook, almanac, collection menu, and version should win whenever an older guide disagrees.
- 67 documented fish entries: species, location, size class, and listed value.
- 19 artifacts on the current four-region checklist.
- 6 boat appearances, including the starting and regional unlock states.
- Special checks such as the Loch Ness room, Red Herring route, and Point Nemo cleanup are tracked separately.
Scale the Depths collection tracks at a glance
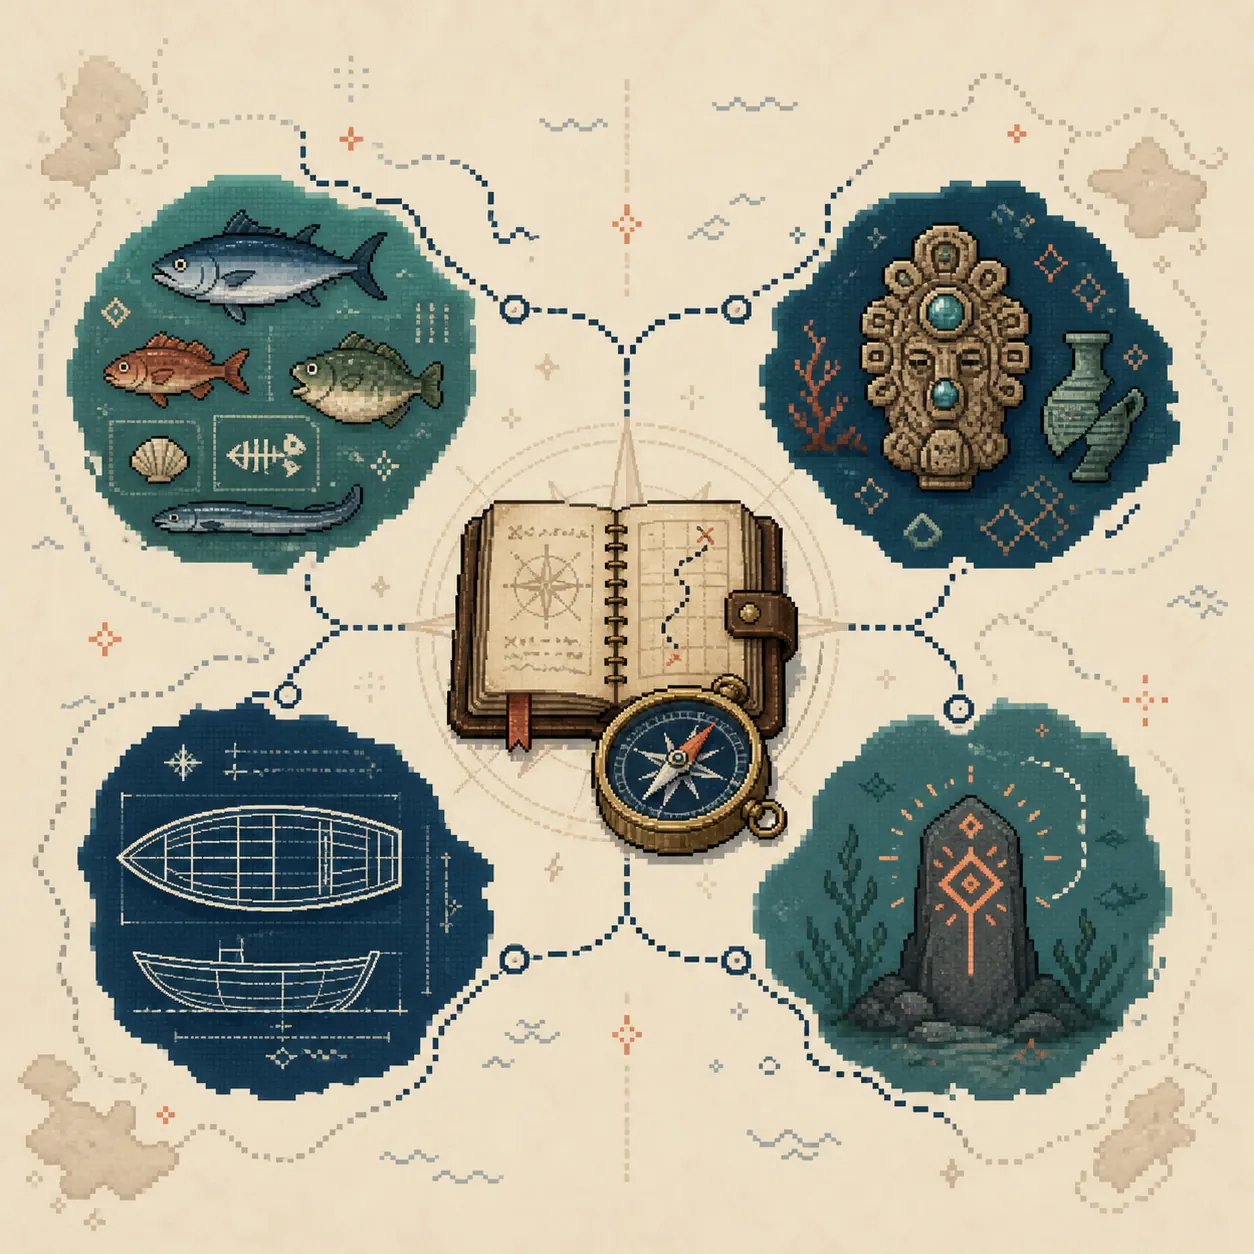
Use the table as a routing decision, not as one combined total. Each track is recorded in a different screen or page, and each one answers a different completion question.
| Track | Working count | What it answers | Detailed page |
|---|---|---|---|
| Fish almanac | 67 documented entries | Which species have you seen, where do they appear, and what size or value notes matter? | All Fish List → /fish/ |
| Artifacts | 19-item checklist | Which named side-route collectibles are still missing in Loch Ness, Huatulco, Outer Banks, or Point Nemo? | All Artifacts Guide → /artifacts/ |
| Boat appearances | 6 collection names | Which vessel looks or blueprint-style unlocks are selectable in the boat or cosmetics menu? | All Boats Guide → /boats/ |
| Special route checks | No single fixed total | Have you cleared a secret room, rare-fish route, late-region checkpoint, or other objective that does not belong to a normal almanac row? | Loch Ness, Red Herring, and Point Nemo guides |
How to use this completion hub
A collection hub is useful only when it reduces repeated searching. Start with the menu or almanac that shows the blank slot, identify the track, and then open the matching detailed guide. Do not replay the whole map because one artifact slot is empty or because a fish favorite has not appeared.
The pages below are intentionally separated. The fish page is a species index, the artifacts page is a named side-route checklist, and the boats page is a cosmetic or blueprint audit. The hub connects them without rewriting each long list.
Name the missing track
A blank almanac fish row, an artifact slot, and a missing boat appearance require different routes. Write down the exact label before searching.
Search in small batches
Clear Loch Ness, Huatulco, Outer Banks, or Point Nemo as a separate pass. A region boundary makes a missing item easier to diagnose.
Check the collection menu
A pickup animation or a fish catch is not enough evidence. Reopen the relevant menu and confirm that the entry or appearance is selectable.
Use detail pages for names
Use the linked fish, artifact, boat, map, and region pages for exact names and route notes instead of mixing every objective into one oversized list.
Regional checklist for an all-collectibles run
The four-region structure is the easiest way to keep a completion run readable. It also explains why a player can feel “almost done” while still missing a boat, an artifact, or one fish that belongs to a different route.
Mark the track and the region together. For example, “Outer Banks artifact” is a better search note than “something is missing,” while “Point Nemo fish” immediately points to the late-game fish table.
| Region | Check first | Useful page |
|---|---|---|
| Loch Ness | Check the hidden-room and secret-door route, early fish entries, the first artifact slots, and the regional boat path. | Loch Ness Guide → /loch-ness/ |
| Huatulco | Sweep optional branches after the main route is stable, then compare Huatulco fish, artifacts, and the Diving Boat path. | Map and Artifacts Guides → /map/ and /artifacts/ |
| Outer Banks | Separate normal fish progress from Red Herring clues, hidden boat checks, and the larger artifact set. | Red Herring Guide → /red-herring/ |
| Point Nemo | Do the late-game fish, artifact, boat, and ending-prep checks together, but record each result in its own track. | Point Nemo Guide → /point-nemo/ |
A low-friction Scale the Depths completion route
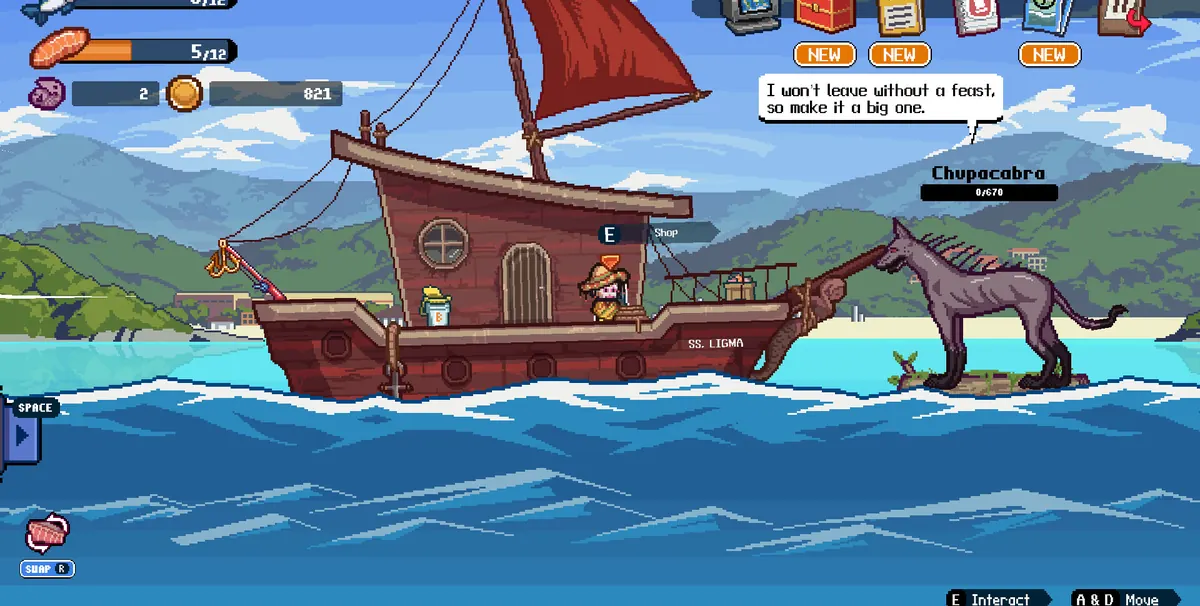
The safest route is a controlled second pass rather than a fresh save. Keep the economy moving, record the blank track, and revisit only the region that can contain it. This approach also limits the chance of confusing a cosmetic, equipment item, fish, and artifact.
If a count differs from an older article, do not immediately reset progress. Compare the in-game menu with the dedicated page, check whether the page is discussing a different track, and confirm the version or platform context before taking destructive action.
Capture the current collection state
Take a quick screenshot or write down the exact blank name. Record whether the gap is in fish, artifacts, boats, or a special route.
Choose the smallest region to revisit
Use the region table and the map guide to avoid wandering. A narrow search is faster than replaying every depth.
Check side paths after the main objective
Artifacts and boat unlocks can sit away from the efficient fish lane. Sweep suspicious branches once the boat can handle the route.
Confirm the menu before leaving
Open the almanac, collection, or cosmetics menu and make sure the new entry is registered. Do not count an object that never changed the relevant screen.
Use the narrow page for the last clue
Move to the fish, artifact, boat, Red Herring, Loch Ness, or Point Nemo guide that matches the missing label.
Leave the ending and save reset separate
Collection cleanup is its own task. Use the ending guide for the final sequence and the reset-save guide only when the save problem is verified.
Common all-collectibles mix-ups
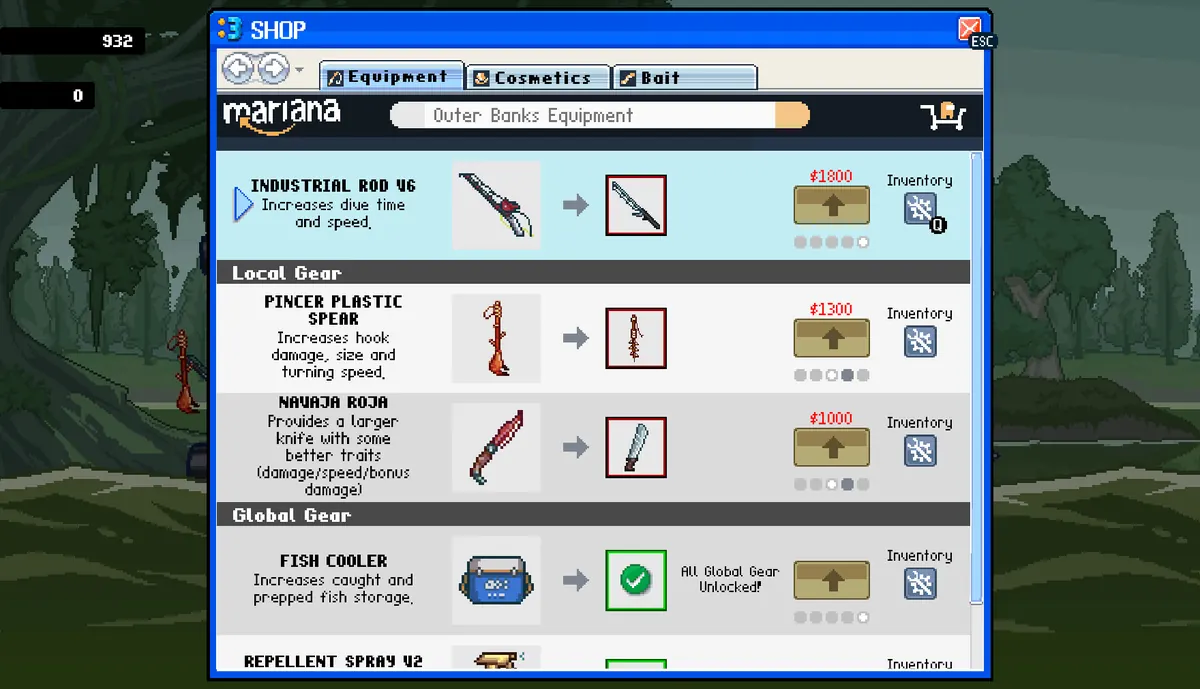
Most completion errors are classification errors. A player remembers an object, fish, boat, or route event but checks the wrong menu afterward. Treat the collection screen as the source of truth and use the table below to choose the next page.
This separation also keeps the page honest: the hub connects collection systems, but it does not pretend that every fish, artifact, boat, secret, and ending step belongs to one official counter.
| What you remember | What it may really be | Next action |
|---|---|---|
| I caught every fish, so the collection should be complete. | Fish completion is separate from artifacts, boats, and secret-route checks. | Verify the fish table, then audit the artifact and boat menus independently. |
| I picked up an object, but no artifact slot changed. | It may be equipment, a boat cosmetic, a route prop, or another non-artifact item. | Use the exact name in the artifact guide and recheck the relevant menu. |
| The map looks finished, so the boat or Red Herring must be bugged. | The efficient fishing route can skip optional branches and hidden-room checks. | Revisit side geometry with the map, regional, or Red Herring guide open. |
| An older guide has a different total. | Community lists and version/platform context can differ. | Trust the current in-game menu first and use dedicated pages to locate the mismatch. |
| I should reset the save to force the item to appear. | A missing entry may be a route or classification issue rather than save corruption. | Back up first and use the reset-save guide only after normal checks fail. |
Scale the Depths all collectibles FAQ
How many collectibles are in Scale the Depths?
There is no single official total used by every collection track. This hub currently works with 67 documented fish entries, 19 artifacts, and 6 boat appearances, plus special regional checks. Use the current in-game menu as the final count for your build.
Are artifacts, fish, and boats counted together?
No. They are separate completion lanes. A full fish almanac does not automatically prove that every artifact or boat appearance has been registered.
Do I need every collectible to reach the ending?
Treat collection cleanup and ending progress as separate goals. Prepare the ending route with the ending and Point Nemo guides, then return for missing fish, artifacts, boats, or secret checks.
Where should I start if one collectible is missing?
Start with the exact blank name and the menu where it appears. Then use the regional table to choose Loch Ness, Huatulco, Outer Banks, or Point Nemo before opening the narrow guide for that track.
Why does my total differ from this guide?
The difference may come from an older community list, a different platform or version, or a category mistake. Compare the visible in-game menu with the dedicated fish, artifact, and boat pages before assuming the save is broken.
Is the concept diagram an official game screenshot?
No. The four-track diagram is an editorial illustration made for this guide. The screenshots are labeled separately, and the HTML text—not the diagram—contains the collection guidance.
Sources and verification notes
This site is an independent fan resource. Official store and creator pages are used for game context and screenshots; community references are used only as cross-checks. If a source conflicts with your current menu, trust the game build you are playing.
- Official Steam store — First-party game description, screenshots, platform context, and collection-related presentation.
- Glass Gecko Games — Creator and first-party game context.
- Scale the Depths Wiki.gg — Community-maintained reference used as a cross-check for names and regional relationships, not as the final authority.